

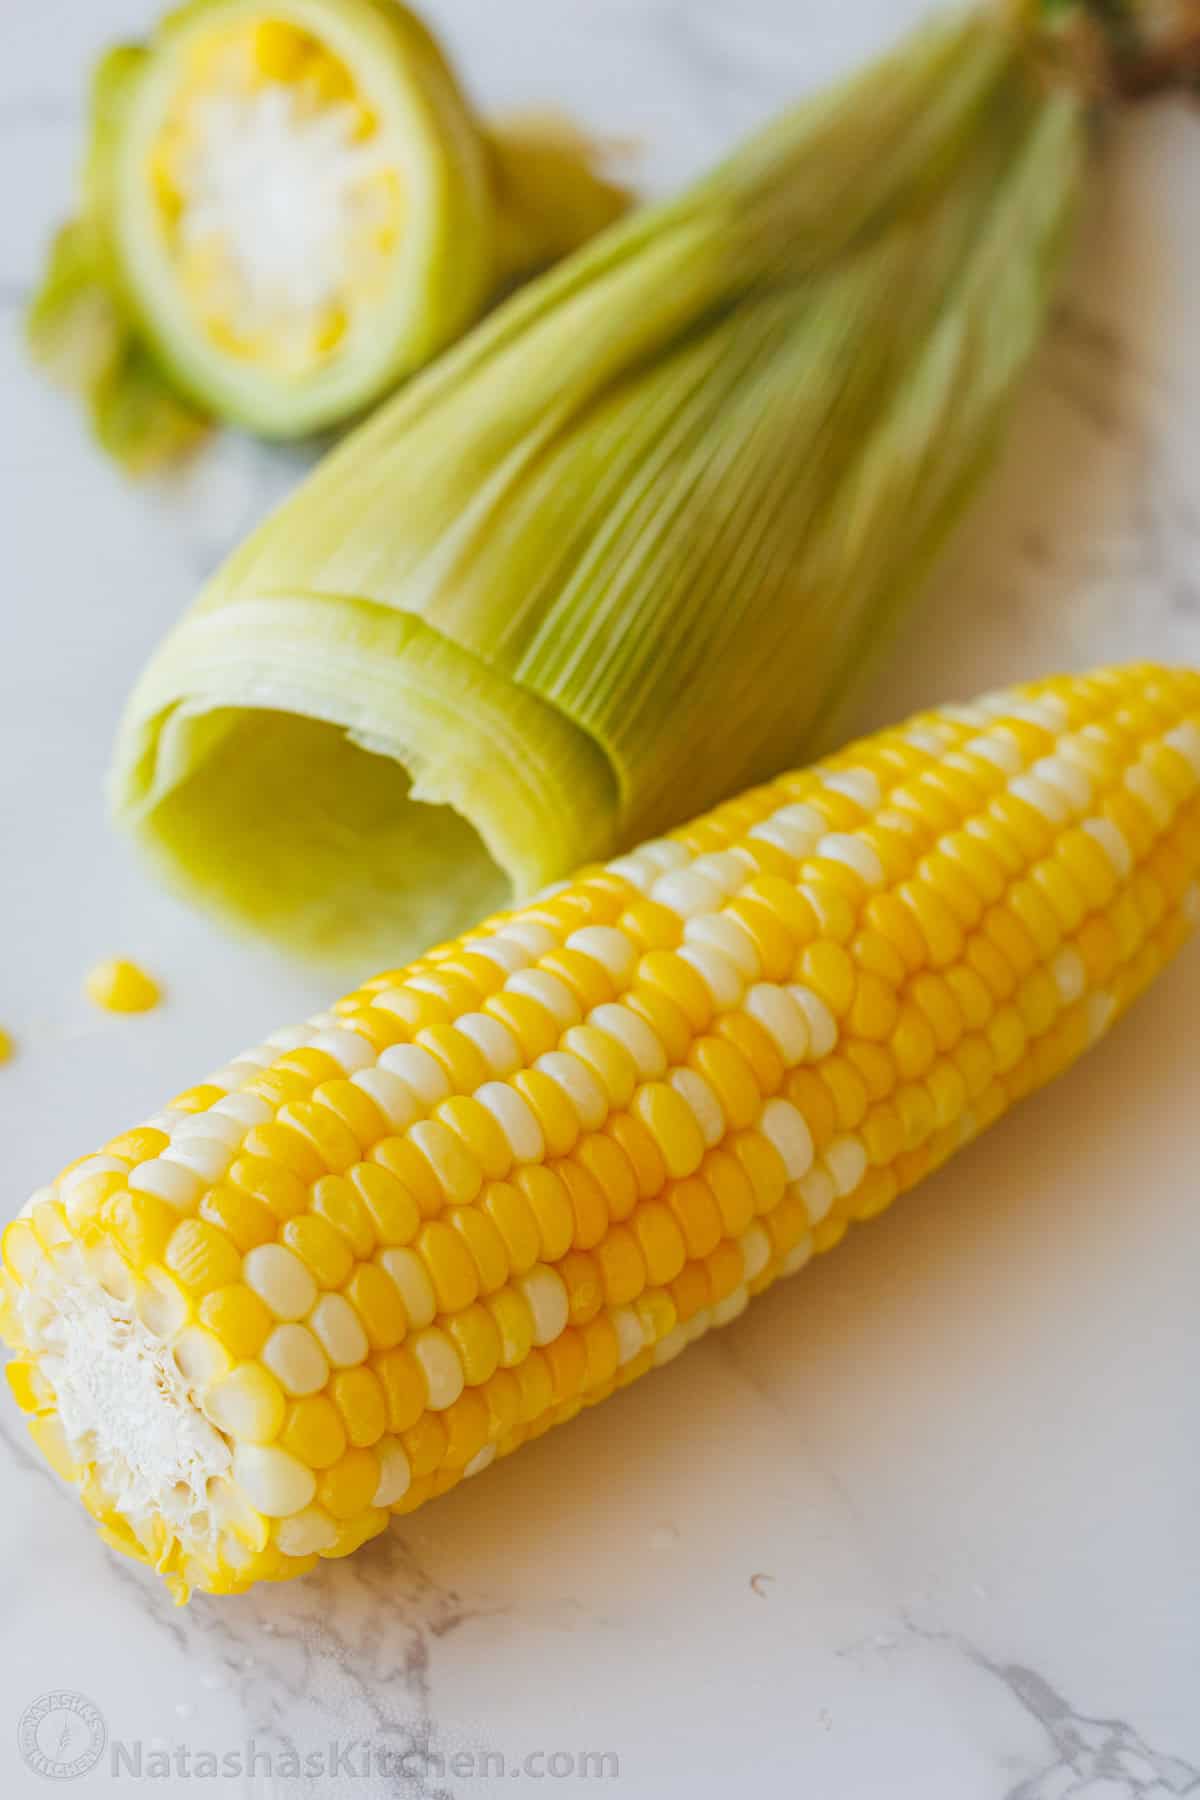
This Microwave Corn on the Cob is the fastest way to cook sweet, juicy corn when you only need a few ears. It cooks right in the husk, so there’s no need to shuck it first. Once cooked, the corn slides right out, leaving most of the silk behind.
This post may contain affiliate links. Read my disclosure policy.
Microwave Corn on the Cob Video
Easy Microwaved Corn on the Cob Recipe
We love fresh corn on the cob every way, from classic Boiled Corn on the Cob to smoky Grilled Corn in Foil and even Instant Pot Corn on the Cob, but this microwave method is hard to beat when you need a couple of ears of corn cooked fast. It’s ready in minutes, easy to peel, and perfect for a quick summer side dish.
Grab a few fresh ears of corn on the cob, and then store them in the husks in the fridge to keep the kernels moist and plump. When shopping, find fresh corn with green husks and brown, sticky silks on top. Also, don’t forget salt and butter (or dairy-free alternatives) for serving.
How Long to Microwave Corn on the Cob
Cooking time varies depending on the size of the ears and your microwave wattage. Use the lower end of the range for smaller ears and the higher end for larger ears. The corn is done when the kernels are plump, steaming hot, and crisp-tender.
- 1 ear: 3 minutes
- 2 ears: 4 to 5 minutes
- 3 ears: 6 to 7 minutes
- 4 ears: 7 to 9 minutes
How to Microwave Corn on the Cob
This microwave corn on the cob is the easiest way to enjoy juicy and sweet corn all summer long.
- Microwave the corn – Microwave corn in a single layer with the husks on according to the microwave chart below. Use tongs to transfer the corn (be careful – it’s hot!)
- Let it rest on the counter for 1 to 2 minutes after cooking.
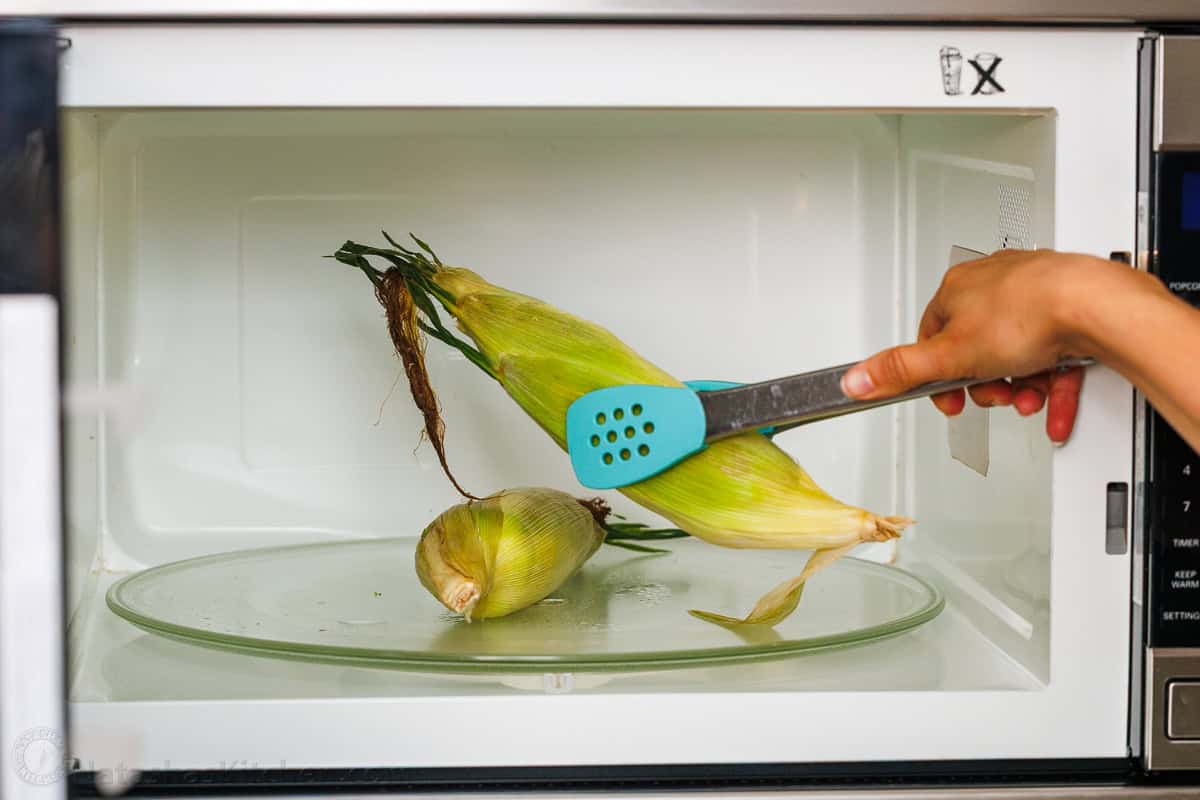
- Cut off the end (about 1 inch) with a sharp knife to release the cob from the stem.
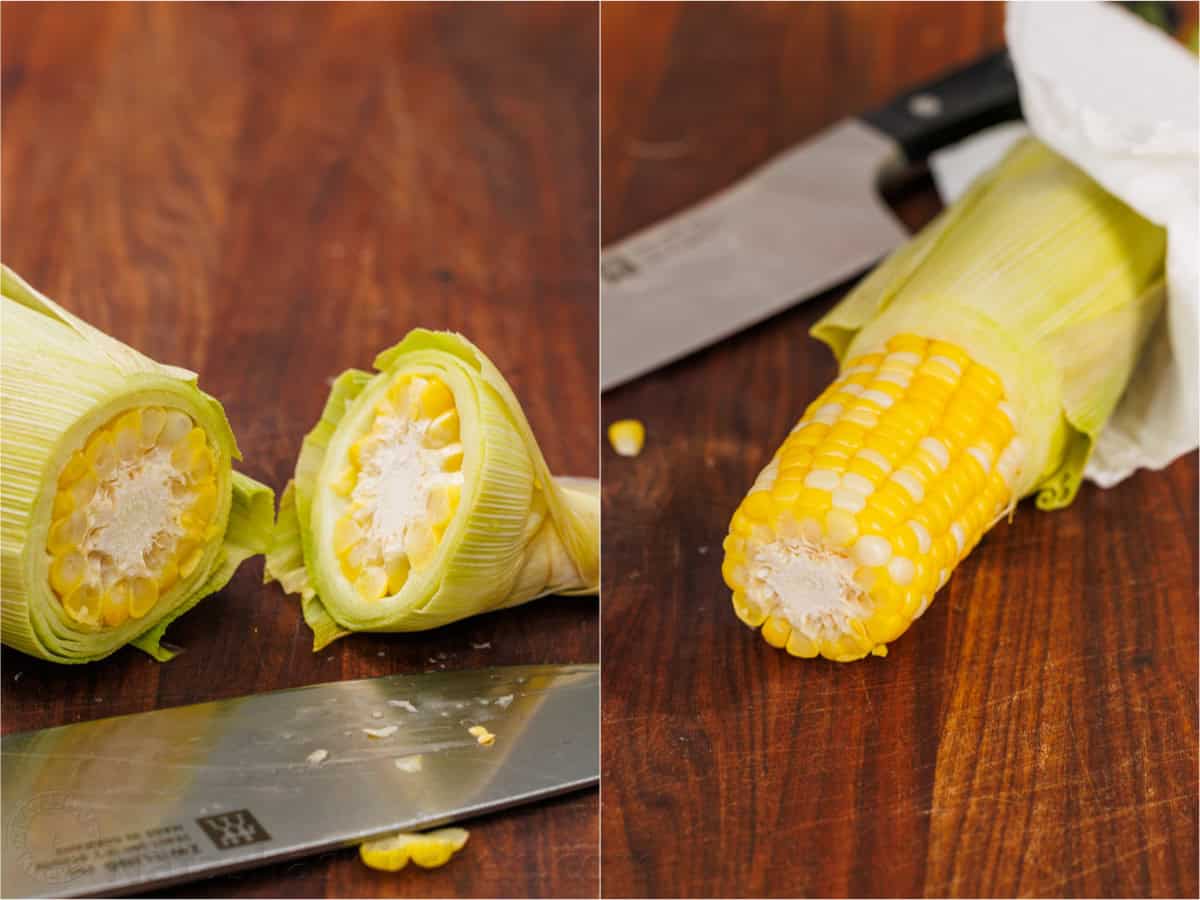
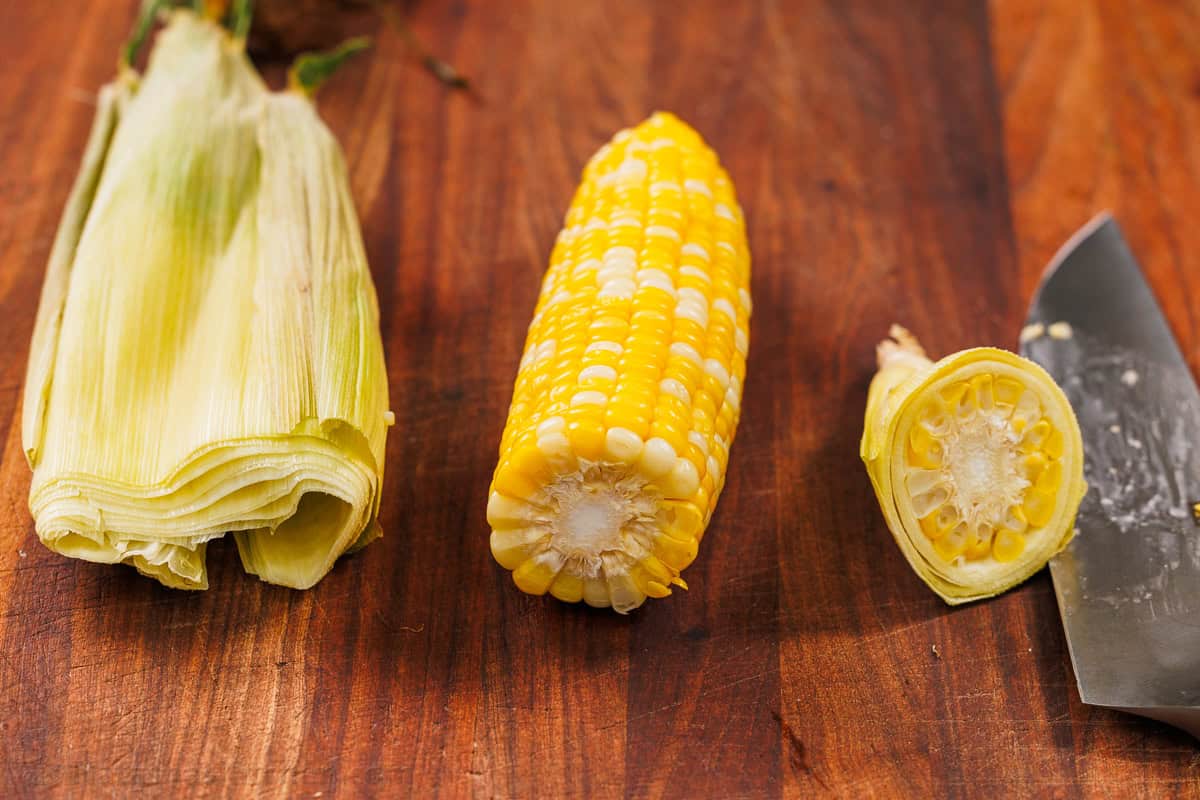
- Push out the corn – the cob is hot, so use a clean kitchen towel to push the cob out of the husk. If it doesn’t come easily, cut a bit more off the bottom.
Can You Microwave Corn Without the Husk?
Yes. If the corn is already shucked, wrap each ear in a damp paper towel before microwaving to help retain moisture. No paper towel is needed when the corn has fresh, green husks, since the husk traps steam and moisture around the kernels.
What to Serve with Microwave Corn on the Cob
Microwave corn on the cob is a quick side dish to repeat all summer long, so try it with these summer-favorite main dishes:
- Surf and Turf Recipe
- Grilled Steak Kabobs
- Smash Burger
- Honey Glazed Salmon
- Instant Pot Ribs
- Cilantro Lime Chicken
Storage and Reheating Tips
Microwave corn is best served right away. Refrigerate cooled leftovers in an airtight container for up to 4 days. Reheat each cob wrapped in a damp paper towel in 20-second intervals until warm. For freezing, cut the kernels from the cob and freeze them in an airtight container for up to 3 months for the best quality.
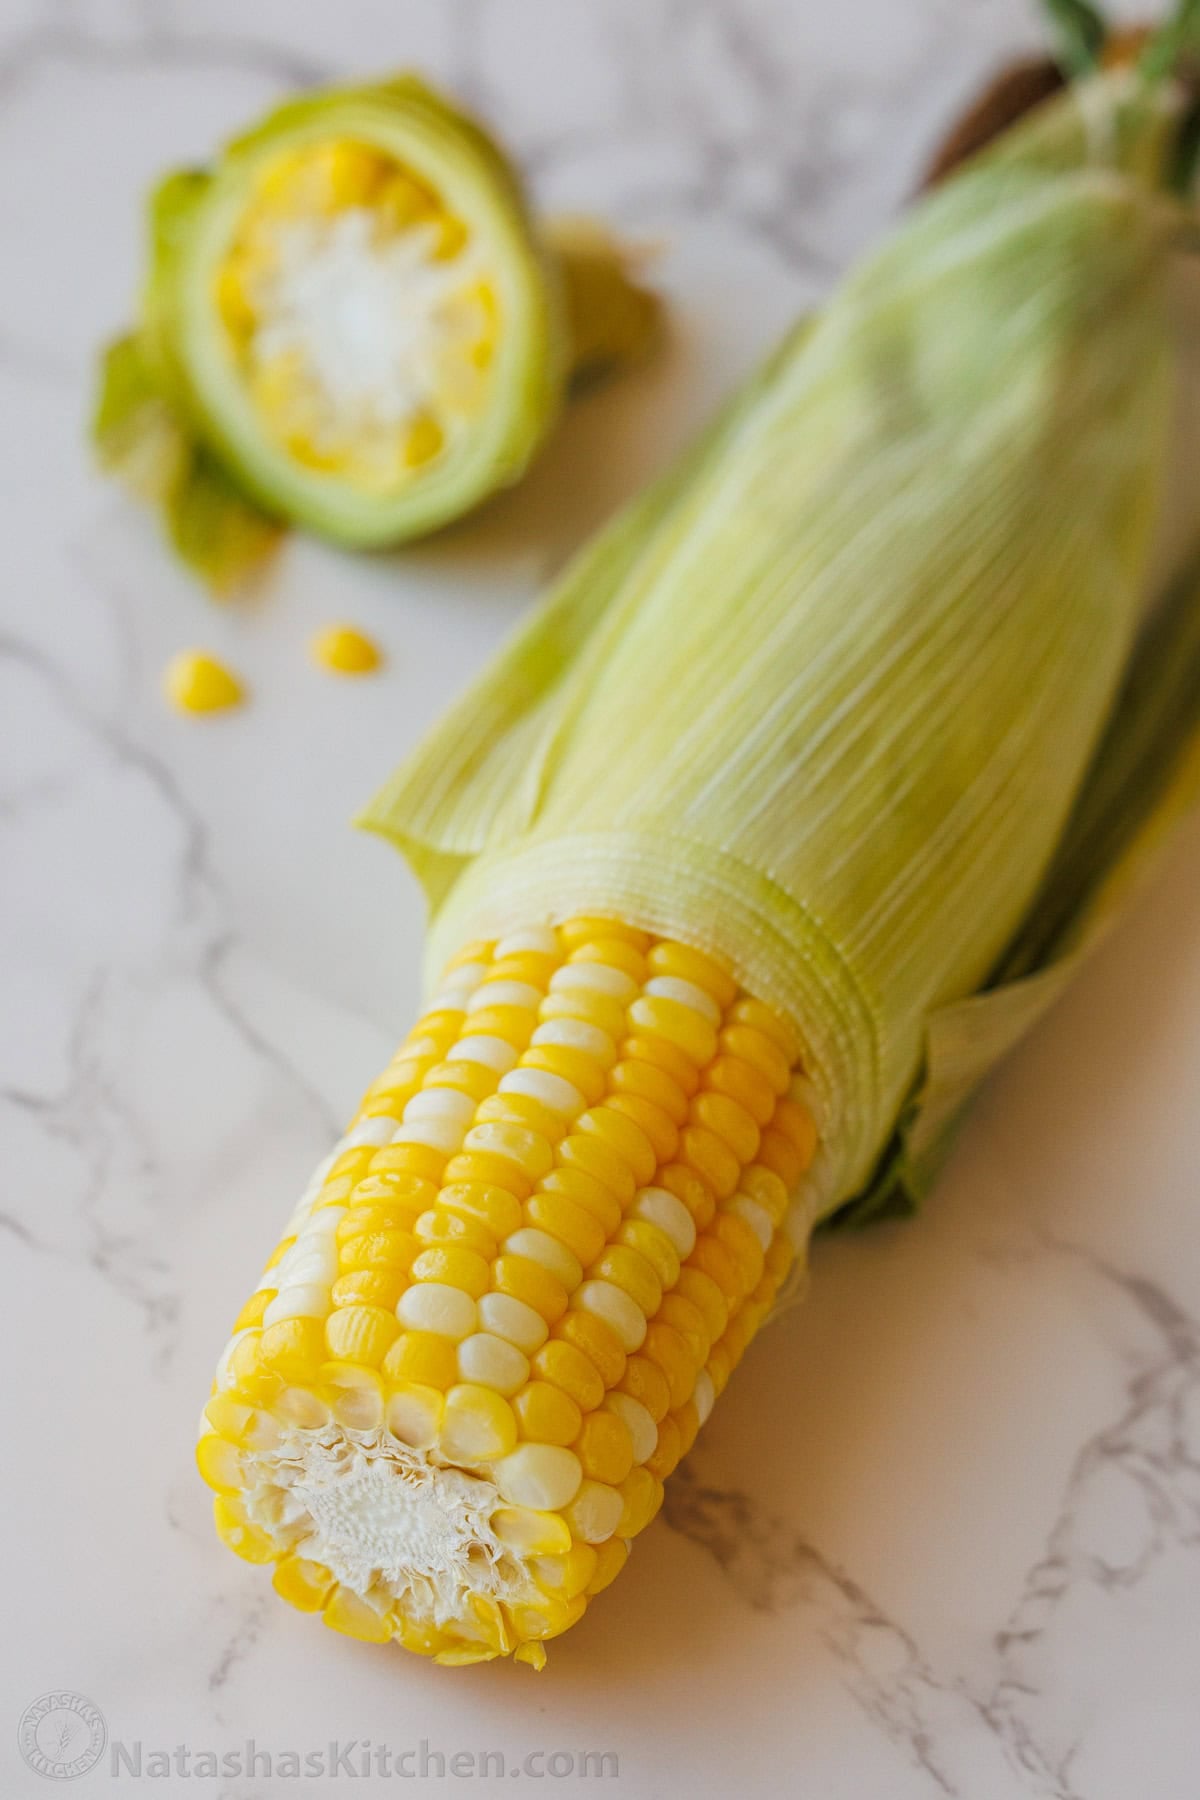
This microwave corn on the cob method is incredibly easy and convenient—there’s no need to boil a pot of water or shuck the corn first. Keep it in mind the next time you need a small batch of corn for a quick side dish or another recipe.
Microwave Corn on the Cob
Ingredients
- 1 corn on the cob, or up to 4 cobs, in the husk*
- Butter and salt, optional, for serving
Instructions
- Microwave the corn – Place the corn in the microwave with the husks still on, arranging the ears in a single layer if possible. Microwave on high until the corn is hot and tender. For 1 ear, microwave 3 minutes; 2 ears, 4 to 5 minutes; 3 ears, 6 to 7 minutes; or 4 ears, 8 to 9 minutes. For 3 to 4 ears, rearrange the corn halfway through if your microwave cooks unevenly.* Use the lower end of the time range for smaller ears of corn and the higher end for larger ears.
- Let it rest – Carefully remove the corn from the microwave using kitchen tongs. Let it rest for 1 to 2 minutes, since the husks and steam will be very hot.
- Cut off the end – Transfer the corn to a cutting board. Using a sharp knife, cut off the stem end, cutting through the bottom row of kernels, about 1 inch from the base.
- Push out the corn – Hold the silk end with a clean kitchen towel and gently squeeze downward toward the cut end. The cob should slide out, leaving most of the husk and silk behind. Be careful of hot steam. If the corn doesn’t slide out easily, cut a little more off the stem end, making sure you cut through the bottom row of kernels, then try again.
- Serve – Serve warm with butter and salt.
Notes
Nutrition Per Serving
Filed Under

More Easy Summer Side Dishes
This microwave corn on the cob recipe puts dinner on the table faster, as well as these easy summer side dishes put dinner on the table in moments:
- Cucumber Tomato Salad
- Creamy Cucumber Salad
- Smashed Potato Salad
- Coleslaw
- Cowboy Caviar
- Macaroni Salad





I didnt think this would work. But it did@ perfect corn on the cob:)
I’m so glad you loved it!
This is the only way that I cook corn on the cob. Tastes so much better and takes so little time.
Thank you for sharing, Barbara! It’s so easy and convenient.
I’m sure this recipe is good, but you don’t peel corn, you shuck it.
Natasha
This method absolutely works.
Thank you ❤️❤️🥰
Hi Monina! I’m so glad this simple microwave method worked out well for you. Thank you for taking the time to leave a comment!
Works like a charm and very little silk remains
Isn’t it amazing how easily the silk comes off with this method? Thank you so much for sharing your experience, Linda!
Used to do this years ago, and am so glad you reminded me. Plus your tips about handling the corn cobs saved my hands from the steam. My husband was grinning 😀 from ear 👂 to 👂. We almost needed bib!!
Hi Cynthia! That brought a smile to my face. I’m so glad the tips helped save your hands from the steam and that you both enjoyed the corn so much!
This is the perfect and easiest way to cook corn! SO much better than boiling. Flavor and tender crispness with every bite!! YUM!!
Yes it’s so much easier than boiling and so handy for a small batch. Add a little butter and a sprinkle of salt and it’s irresistible.
This is such an easy way to cook and serve a couple of ears of corn! I am old school, used to shucking corn in store, heating up a huge pan of boiling water and cooking… then found out you could do it quicker in an instant-pot… but THIS is the best and yes! There is no silk to pick off, and since you only cut off the one end after it cooks, it’s much easier to cut it after cooking, rather than when it is raw! ❤️
I agree! Having such a clean, easy-peel experience is such a bonus with this method!
I have been making corn this way for years, but you left out a VERY IMPORTANT STEP. First, soak your ears with the silk and all the leaves intact in cool water for 20 min to 2 hrs. Then trim off the top silk and microwave for 5-8 min.More corn, more minutes. Remove and cut about an inch or two from bottom. Then hold on to the silk end and push the corn out just like an ice cream push up treat. Serve with butter. It will be so moist and delicious.
Hi Hannah, thank you for sharing your method! I’ll have to try that out.
Absolutely right. I’ve been doing this for years and it is so easy! Thanks for telling the world.
I was excited to figure it out also!
I have been doing this for years! Works like a charm!
Hooray! I’m glad I figured it out too.
We have used this method for several years now. Easy and no mess!
I love that you’ve been making Microwaved corn this way for years. You were ahead of your time!
I’ve been doing this for many years and it works great. Just as you said.
I was surprised at how well it worked (especially how easy it was to remove the husk after!) the first time I tried it.
Can’t wait to try this recipe. I always shuck the corn 1st and then put it in the microwave with water to cook the corn. This method looks so much easier!
It’s especially helpful if you need a small batch of cooked corn (say for a recipe) and of course there’s no shucking required.